How Do I Control the Exposure of My Folding SLR Polaroid SX-70 Camera?

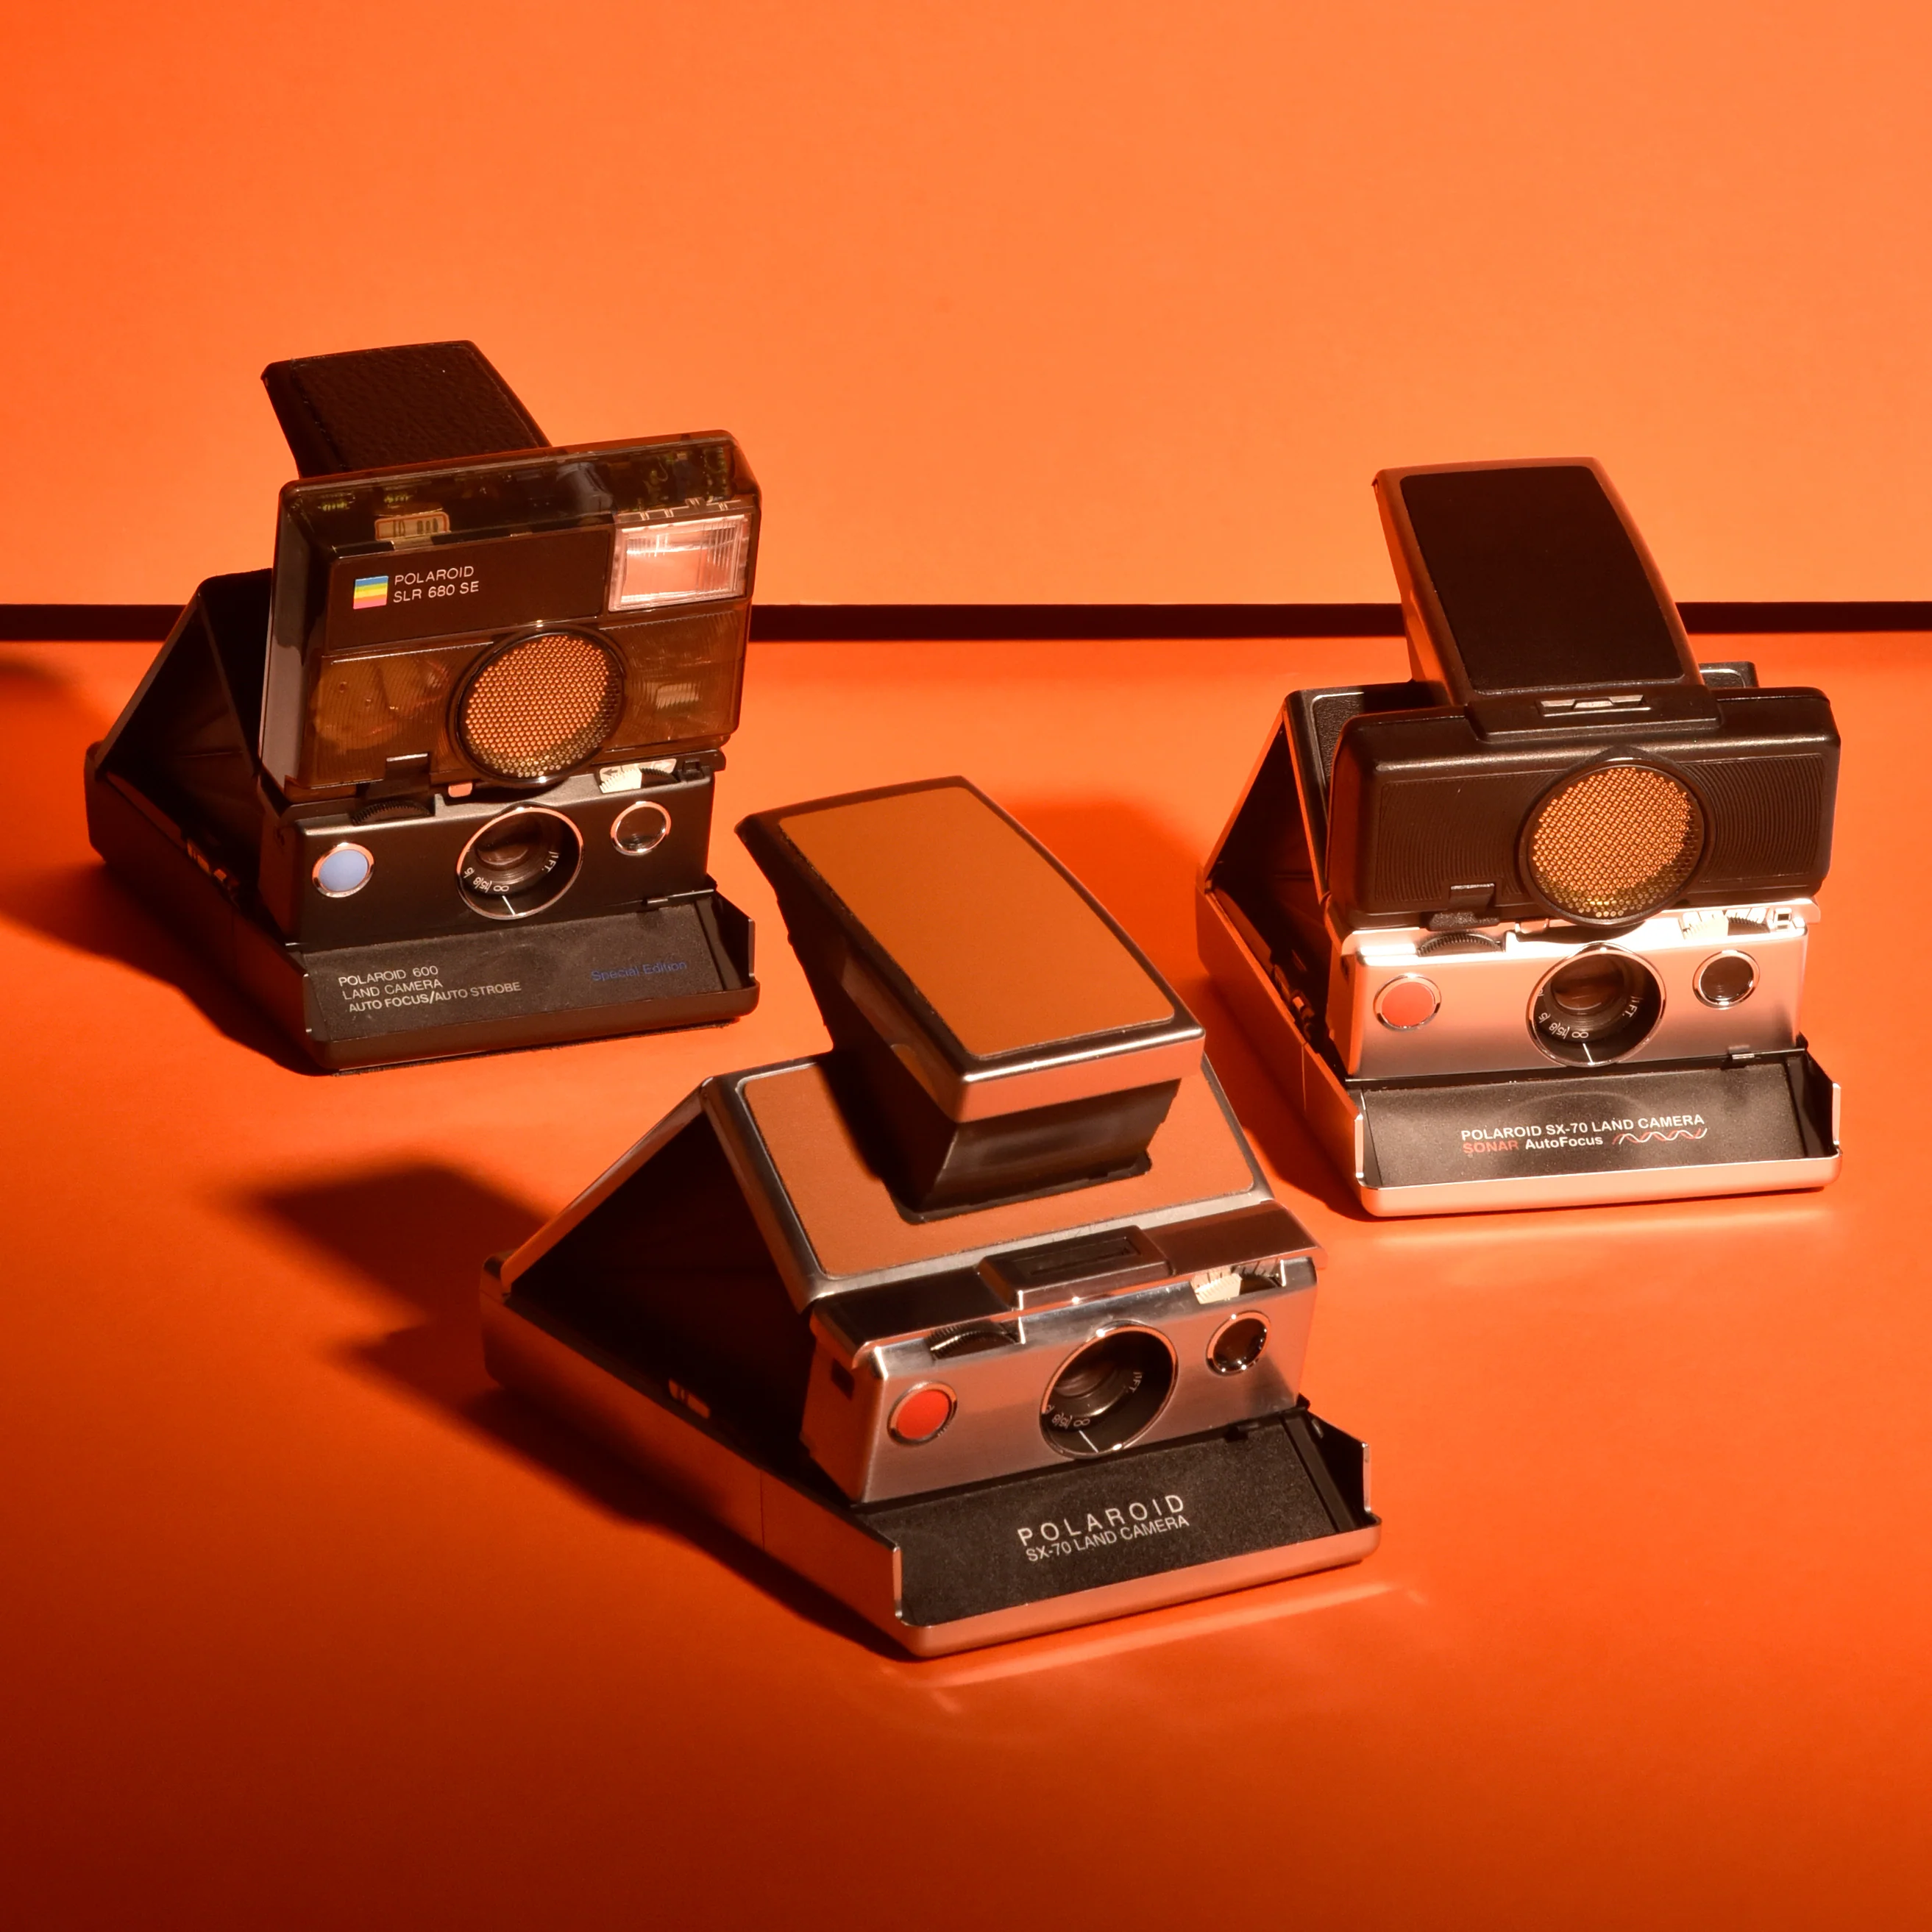
The SX-70 exposure system is a marvelous feat of miniaturization and engineering, especially considering it was introduced in 1972. Its design remained fairly constant through each subsequent production run, with some adjustments and incremental improvements, until the 690, the final folding SLR Polaroid.
Many of today’s users inevitably ask, at one point or another, if there is any way to control the exposure of their folding SLR Polaroid cameras. The answer is yes, but it may not be in quite the way you think.
You are not given specific control over the shutter speed/aperture settings; this is all determined by the camera, making the picture taking as user-friendly and fool-proof as possible. You can however, adjust how over or under exposed the image is via the trim wheel (aka the Lighten/Darken control), roughly translating to adjustments of up to 1.5 stops. But that’s basically it. There's not any way to set a specific setting with these Polaroid cameras as you would on a more traditional film camera.
However, you can learn to anticipate the results of the camera’s exposure system in order to control it to your advantage.
The Basics
The exposure system works by averaging the light reflected from a scene and automatically adjusting the exposure for the best possible result. After the shutter button is pressed and the photocell has received enough light (which is controlled by an array of capacitors, resistors and integrated components on the camera’s electronic control module), the shutter closes and the camera signals the motor to begin turning, starting the processing cycle.
In most circumstances, if the camera is working correctly, the user should not have to adjust the trim (lighten/darken) wheel from it’s neutral position except in circumstances where they may desire a lighter or darker image.
Here are some helpful specifications to know about the camera and its film:
- SX-70 film is rated for 160ASA ± ⅓ stops - in terms of sensitivity to light, that's a quite slow film by most standards. The trade off in speed is a film with finer-grain (sharper detail). It needs a lot of light to make a proper exposure, compared to the later 600-type film which is rated for 640ASA ± ⅓ stops. This means 600 film is suited for a larger variety of lighting circumstances (which is one of the reasons our service to convert folding SX-70 cameras to shoot 600 film is so popular).
- The maximum aperture of the folding camera’s lens is ƒ8.0. This is, again, rather slow in photographic terms but was a deliberate part of the design. A faster lens (with a wider aperture) may have been possible, but it would have been hard to fit one in the compact folding design of the SX-70. More-so, a faster lens would have had a smaller depth-of-field and would have been more difficult to focus accurately. This could have resulted in more customers complaining about out-of-focus images.
- The distinction between shutter speed and aperture is somewhat blurred for the folding SLR Polaroid. The SX-70 camera, and all of its descendants, use a single set of blades for both its shutter and aperture. Certainly an interesting solution to keep the camera as compact as possible!
Thoughts from the Expert’s Expert
Ansel Adams' book Polaroid Land Photography contains a general table for what an SX-70 exposure might be based on a given light meter reading. NOTE: This table is not meant to be taken literally — some of the mentioned circumstances could overlap, after all — it is only meant as a rough guide.
|
SX-70 Ambient Light Exposure Program |
||||
|
Exposure Value (EV) |
Average scene luminance (c/ft2) |
Equivalent ƒ-stop |
Effective Shutter Speed (seconds) |
Scene Descriptions |
|
16-19 |
800-2K |
22-96 |
1/180 |
Bright sun on white beach or snow |
|
15 |
400 |
11 |
1/180 |
Bright sunny day (hard shadows) |
|
14 |
200 |
8 |
1/120 |
Sunshine with mild cloud cover (soft shadows) |
|
13 |
100 |
8 |
1/90 |
Bright cloudy day (no shadows) |
|
12 |
50 |
8 |
1/75 |
Overcast day |
|
11 |
25 |
8 |
1/25 |
Sunset, or in shade |
|
10 |
12 |
8 |
1/18 |
Twilight |
|
9 |
6 |
8 |
1/8 |
Gallery lighting (strong spotlights) |
|
8 |
3 |
8 |
1/4 |
Bright day interior (hard shadows) |
|
7 |
1 |
8 |
1/2 |
Average day interior (soft shadows) |
|
6 |
.5 |
8 |
1 |
Bright home interior (bulb illumination) |
|
5 |
.25 |
8 |
2 |
Average home interior (bulb illumination) |
|
4 |
.125 |
8 |
4 |
Floodlit building with high ceilings |
|
3 |
.064 |
8 |
8 |
Dim home interior or directly under street light |
|
2 |
.032 |
8 |
16 |
Dark home interior with indirect lighting |
His chart starts and ends in the bold values, which roughly represent most outdoor situations (we’ve modified/simplified some of the numbers he gives for today’s photographers). Whether or not an exposure is complete, the camera will automatically “time out” once the shutter has been open for between 16-20 seconds.
You can learn to anticipate certain lighting situations to pre-visualize the type of image that may result. This is "learning your camera", so to speak. For example, with a high contrast subject, moving the Lighten/Darken wheel slightly to 'darken' may avoid blown highlights. Likewise, if the film you are using has been sitting in the camera for a while between uses, a slight bump of the L/D control may help to your final image from looking too washed out.

Light Meters
You can use a hand-held light meter to help guess what the camera might do in a given lighting circumstance (Adams was fond of the Weston meters - the Ranger 9 model specifically, whose calculator dial gives much of the data above - but any meter will do). Today, there are even apps available to install on your smartphone or tablet. Simply limit your ƒ-stop to ƒ8.0, set your ASA to 160, and set your shutter speed max out 1/200 (closest to 1/180) - you should be in the ballpark.

Low light and Flashes
Given the SX-70’s slower film and lens, it’s safe to say that situations that fall below EV10 in the Ambient Program are beyond most people's ability to hold still enough to avoid camera shake. Ever tried taking a photo with an SX-70 in what seems like a perfectly lit interior room? The shutter seems to stay open forever, and the photos come out blurry. The camera is not broken - this is all due to the limitations of the film speed and the lens’ light-gathering ability. In such situations, it is always advantageous to use a solid stabilizing surface (a tripod, shelf, table top, etc), a cable release, and/or a flash. There are plenty of flash options, from disposable flash bars, vintage electronic flashes, or the newer reusable MiNT flash.
|
SX-70 Flash Exposure Program |
||
|
Distance to subject |
Equivalent ƒ-stop |
Shutter Speed (seconds) |
|
10.4 inches |
96 |
1/40 |
|
12 inches |
90 |
1/40 |
|
3 feet |
32 |
1/40 |
|
6 feet |
19 |
1/40 |
|
15 feet |
9 |
1/40 |
|
20 feet |
8 |
1/40 |
|
These apertures are automatically set according to the focused distance. With the SX-70 Alpha/Sonar (using disposable flash bars) or SLR 680/690 camera the photocell may adjust the actual exposure according to reflected luminescence. |
||
Potential Exposure Issues in Older Cameras
When we get cameras in for repair, some can be dead-on accurate to our reference; others can be anywhere up to 70% off (with most falling in the 10-40% range). Our record keeping shows that 60-70% of cameras we take in need some sort of recalibration to give proper exposures with the trim dial centered, whether that's a small little tweak or a major adjustment.
The above charts and texts assume your camera is working correctly (as it would from the factory floor). If you find that you always have to make an adjustment to the trim wheel to get a correctly exposed photo, your camera is most likely in need of an internal mechanical fix. Issues like this can be fixed by Retrospekt’s Service and Repair team - in addition to a full CLA (clean, lubricate, adjust), shutter recalibration is included with every SX-70 repair we do. We also offer the option to convert to 600 film as part of this service.
Author’s Note:
This discussion of how the SX-70 (and really any Polaroid integral film camera) exposure system works draws heavily from Ansel Adams’ book Polaroid Land Photography. I would highly recommend this as a resource for all Polaroid photographers, along with the rest of the general books in the “Ansel Adams Basic Photo Series”.
References:
Adams, Ansel Easton. “The SX-70 System.”Polaroid Land Photography, New York Graphic Society, 1978, pp. 63–68.

By Bryan Rieth
Head of Repairs | Retrospekt
Bryan learned how to repair instant cameras directly from lifelong Polaroid technicians, imported from the Netherlands. He can resuscitate even the most difficult camera or cassette player. It’s quite possible he’s repaired more TPS-L2s than anyone in the world.


